Using Redis to Persist PHP Sessions on Heroku
This article focuses on the specific task of using Redis to persist PHP sessions when running your app on Heroku. If you’re not in that exact same situation then this article will not apply to you.
I assume that you have a pre-existing PHP app deployed to Heroku that uses sessions and that, like me, you didn’t realize until after the app was deployed that you lose your sessions every time you deploy a new version of your app.
1. Provision the Heroku Redis Add-on
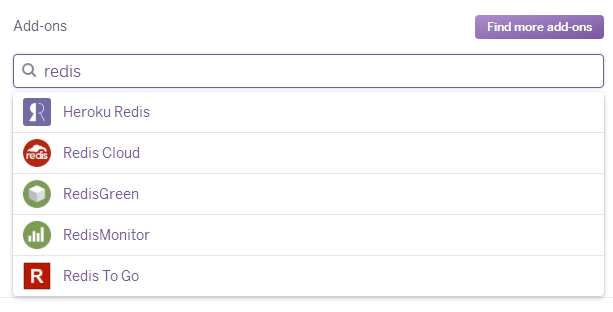
Provisioning the Heroku Redis addon is straight forward. I prefer provisioning add-ons via the dashboard.
2. Add the Redis Platform Package to Composer
Add this line to your composer.json require list:
"ext-redis": "*"
That’s a special composer syntax for platform packages. This informs Heroku that it should enable the PHPRedis package.
You will know if Heroku recognized the platform package by seeing an entry in your build log that looks like this:
-----> Installing platform packages...
       - php (5.6.24)
       - ext-redis (2.2.7)
Locally, you’ll have to install Redis yourself or use regular PHP sessions. If
you choose not to install Redis locally then you can use the --ignore-platform-reqs
flag when running composer update and composer install, otherwise Composer
will throw an error when it’s unable to find the extension.
You might review the full list
of other PHP extension that you can enable on Heroku via composer.json. I noticed
I was compiling a 3rd party extension that Heroku already had available for me.
Using Heroku’s built-in version lowered my deploy time from minutes to seconds
and lowered my slug size by about 200 MB.
3. Configure PHP Sessions to use Redis
PHP session storage is configured via the php.ini variables
session.save_handler and session.save_path. Normally with Heroku we would
recommend setting those in a .user.ini file.
However, the default conenction string that Heroku uses for Redis is not the
same format that we need to use in PHP. Therefore we must set this values in
our PHP app code so that we can parse Heroku’s format and construct the format
that PHP expects.
<?php

  // Assume we don't want to use Redis if the environment variable isn't set.
  // This prevents us from needing to install PHPRedis locally. We're okay with
  // using the default file storage for sessions in our development environments.
  if($_ENV['REDIS_URL']) {
    $redisUrlParts = parse_url($_ENV['REDIS_URL']);
    ini_set('session.save_handler','redis');
    ini_set('session.save_path',"tcp://$redisUrlParts[host]:$redisUrlParts[port]?auth=$redisUrlParts[pass]");
  }
4. Validate
Load any page in your app that starts a session then connect to your Heroku Redis instance and check for the existing of a session key.
heroku redis:cli -a APP-NAME -c APP-NAME
That opens a connection to the Redis CLI in the remote Heroku instance.
ec2-54-221-206-137.compute-1.amazonaws.com:6379> keys *
That tells Redis to list all keys. You should see something like this:
1) PHPREDIS_SESSION:vm0790r1veot5dhkkpdotjek71
There we see that our PHP app successfully saved a session to Redis.
Conclusion
Herouk is an amazing platform. It made this a painless experience.
A mighty thanks to DigitalOcean for a guide on how to setup Redis for PHP session handling the hard way.
If you prefer to use Memcached, Heroku has written a guide for you.